(if you haven’t read the original blog post, click here first to be rerouted)
1. I’m a land owner of a property on a laneway, and potentially a ‘land sharer’. What’s in it for me? Yay! You want to use your land wealth to contribute to expanding housing affordability in Toronto. You don’t have to invest money in a construction project, nor find renters, nor chase rent, nor upkeep the building. You get a small monthly income from the lease payment. If the leasee wants to sell the lease and building, you get first right of refusal. You could then rent it out at market rate. The building will also likely increase your property value, though it isn’t guaranteed, just as the housing market isn’t guaranteed.
2. What’s the benefit of being a laneway suite leasee over being a renter? The biggest thing is that your monthly payments go towards building equity in the building. It’s money you invest in yourself for later. You won’t need to stretch to borrow money to buy a 800K+ house you have to put 200K in renovations on top of it, rather you borrow 300K and live a little smaller in a super efficient, bespoke-designed-for-you space in a well serviced neighbourhood in Toronto.
3. As a leasee, won’t I have the headache of upkeeping the building to maintain the value of the building over time? Yes. Just like traditional home ownership, you have to take care of the house to make it last and continue to increase in value. If you wanted to make bigger improvements on the building, you could talk to your lender about renegotiating your mortgage.
4. I’m a land sharer, what if I don’t like my leasee? You live in a densely populated city. You can’t pick your adjacent neighbours any more than your lease neighbour. This network likely isn’t for you.
5. As a leasee, what if I don’t like the land sharer, or what if the property changes hands and I don’t like the new people? Same as above.
6. So the land sharer isn’t involved in the construction mortgage? No, but there would be an agreement between the four parties (land sharer, lender, leasee and city). The build would likely affect the existing mortgage, and therefore existing lender.
7. What about the design of the laneway suite, is the land sharer involved in the design since it will be on their property for all time? The Laneway Lease Network would work to connect people with compatible co-housing goals. The land sharer would limit the overall maximum size ahead of the lease being signed. If they wanted more input into the design, they could offer to cover a portion of the design fees and work in a collaborative way with the leasee.
8. I’m currently a renter, what does it take to be a leasee candidate? To qualify for support from the city of Toronto’s affordability program*, you need to prove that as a single person, you make less than $63,400 and for two or more people $96,000.
9. I’m now a leasee, I successfully borrowed money and built the laneway house, I’ve lived in it, and now the 15 year term is up. What now? Congrats, you’ve paid off your construction mortgage (or nearly all of it), and your monthly expenses are super low, you are truly living affordably. You can now sell the lease and slightly increased value of the laneway suite. You’ve built some equity over time instead of throwing away rent so you can use this money to buy a different property, or you can buy another 15 year lease from the land sharer and live with very low monthly expenses.
10. I’m a potential leasee, what if I want to sell my lease (and build) before my 15 year lease term is up? Yes, you can do that. The value of the build would be assessed on its construction value to date, and the land sharer would get the opportunity to buy it from you first, ahead of anyone waiting in the Laneway Lease Network. If they don’t want it, or don’t have the money to buy it from you, the lease (and build) would be offered up for sale for a specific price to the Laneway Lease Network, increasing only by inflation.
11. What happens if the land sharer wants to sell their home after or even during the build? The lease would be attached to the house for whatever remains of the 15 year lease term. A contract would be in place between the land sharer, leasee, lenders and city. The new purchaser of the land would become the new land sharer and keep the cycle going.
12. Won’t having a lease attached to the property negatively affect the selling price of the property overall? We don’t know that yet. We don’t know how much value a laneway suite adds to the value of a property. It would depend on all the ways that other homes are valued. Location, size, built quality, amenities etc. We know that the property taxes and utilities increase, but the broader effects yet.
13. How much will a laneway lease cost? The lease price would likely be based on the property size, and a portion of it would have to go to the Laneway Lease Network.
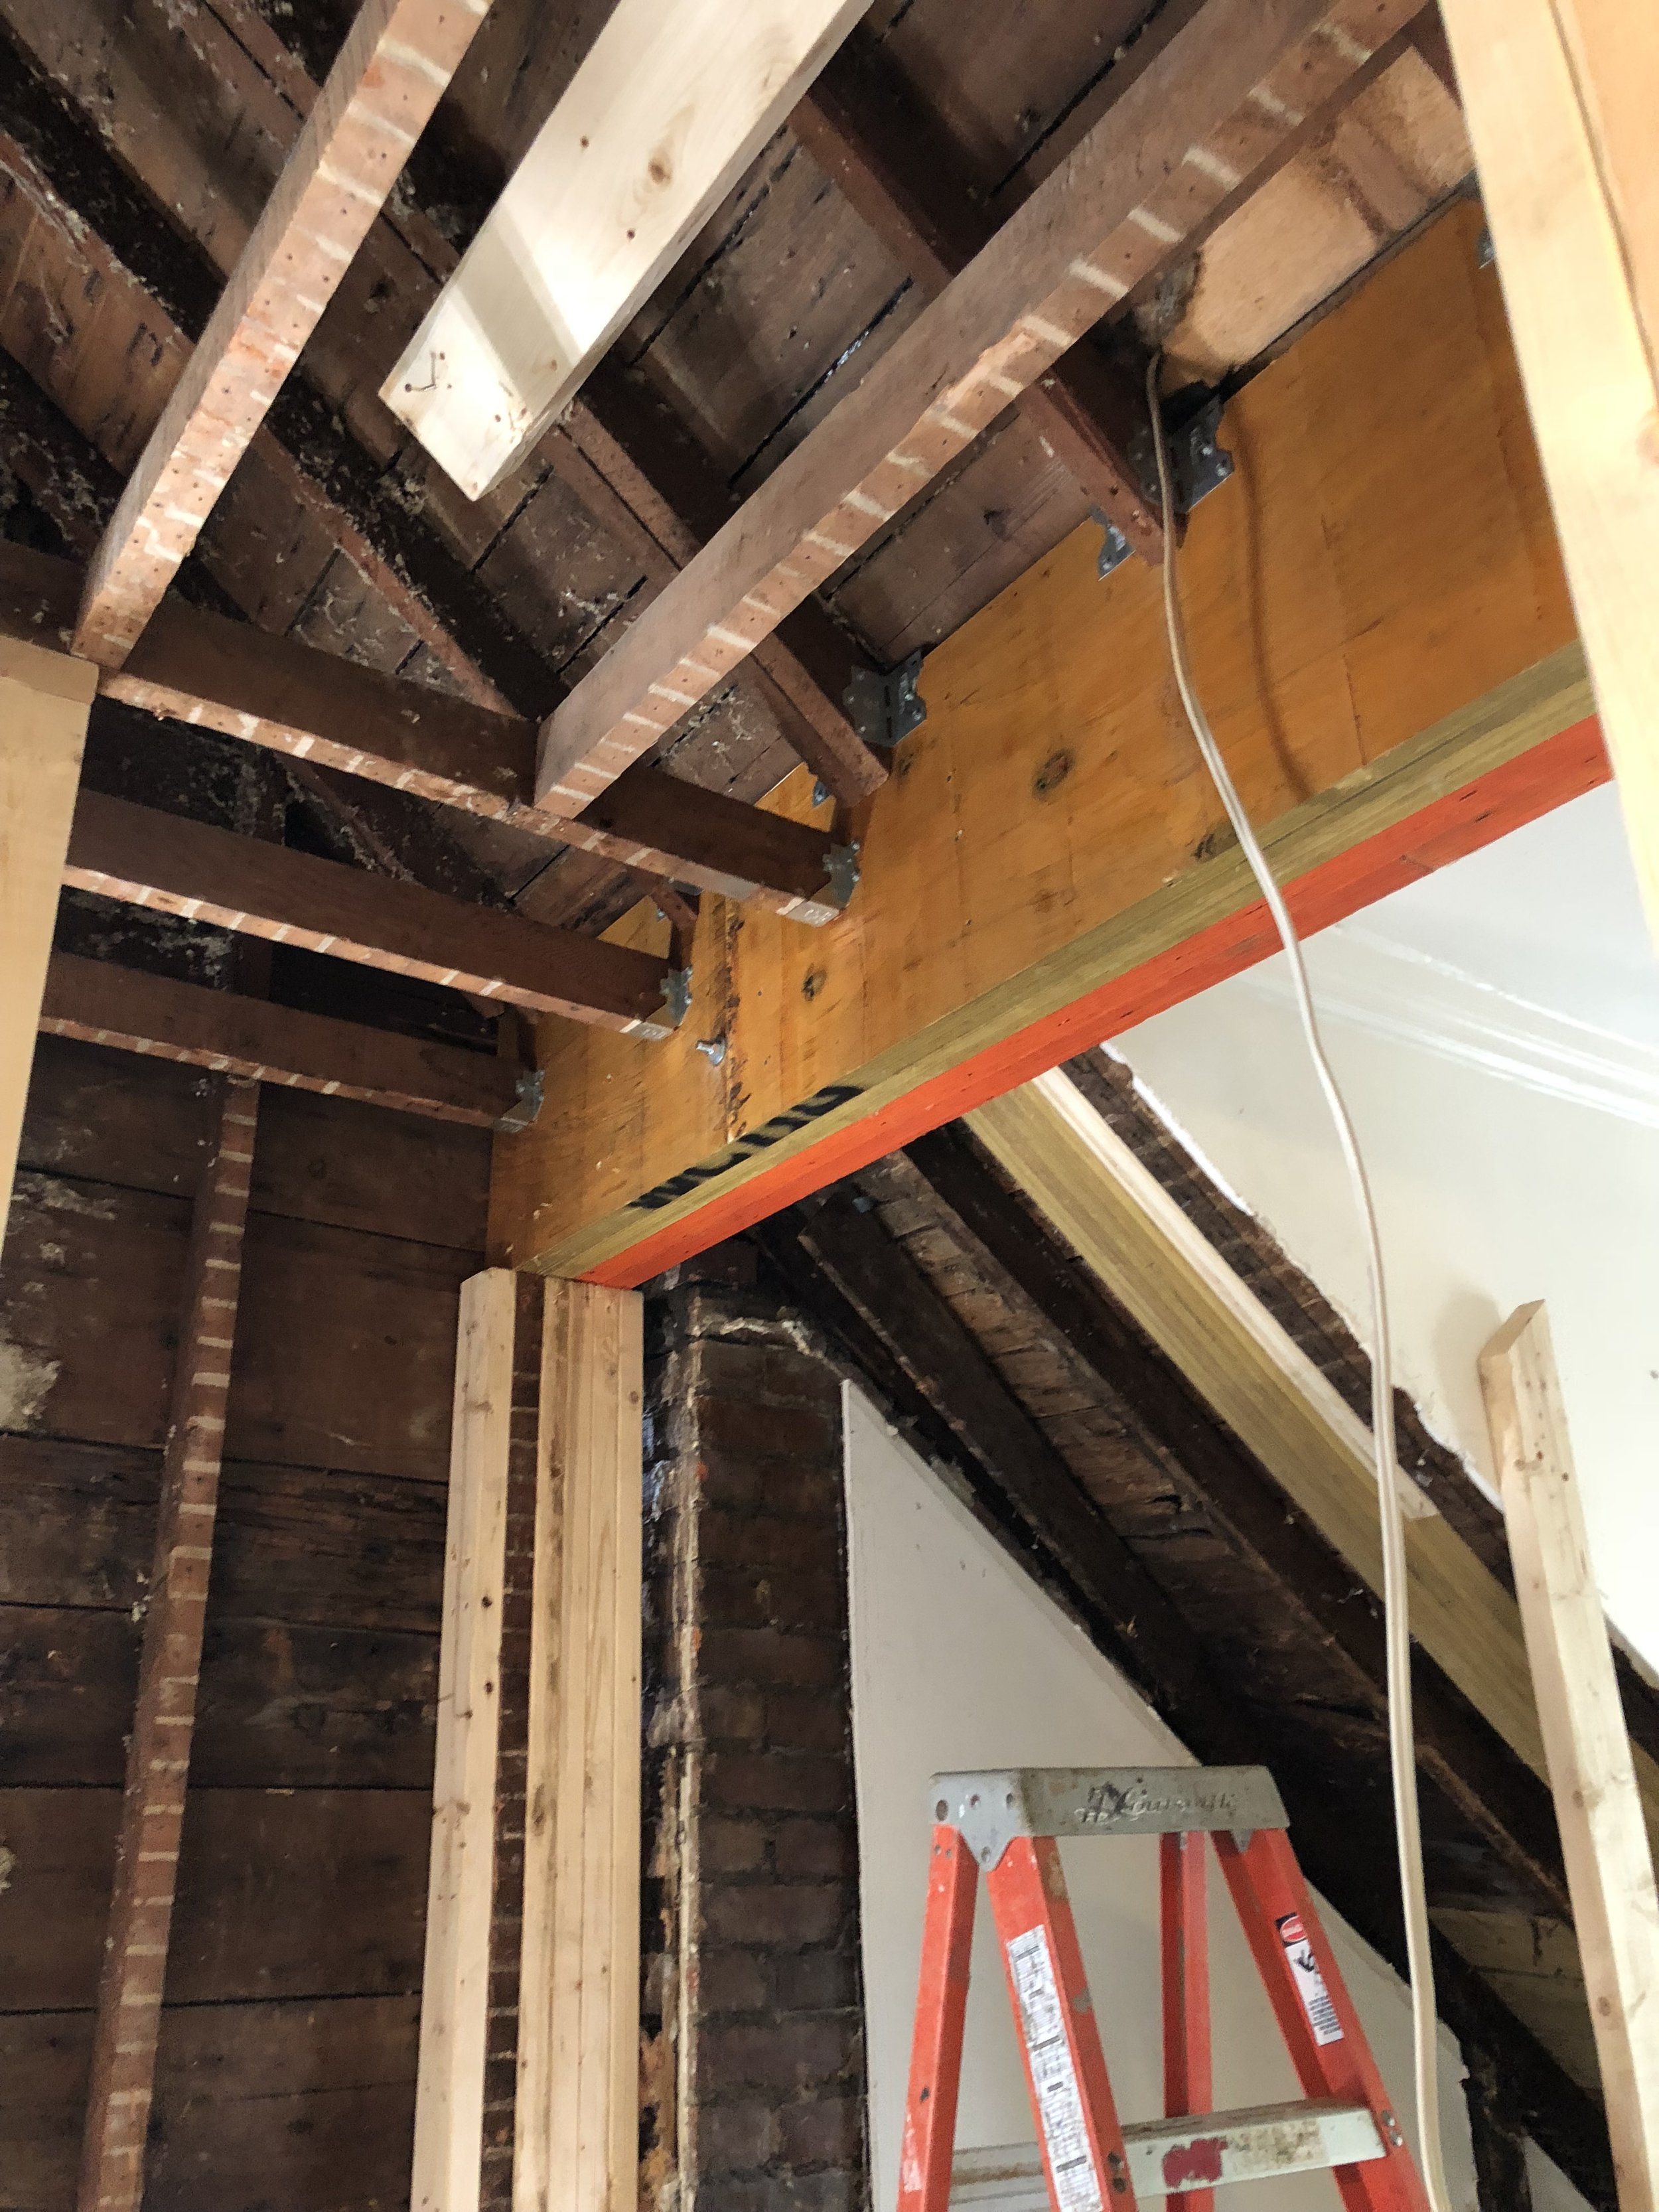
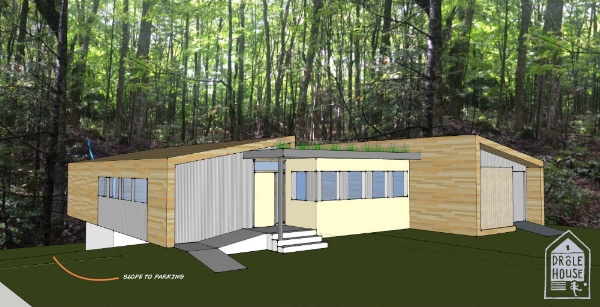
14. How much does laneway house cost to build? It depends on the size, the site, the complexity of the construction, having a basement foundation or not, the quality of finishes and systems, but a small one-bedroom might be in the range of 150-200K, two bedroom 240-350K, and a three bedroom 350-600K.
15. I’m a land sharer, what if a leasee defaults on their mortgage? The land sharer would have right of first refusal to buy the building from the lender. Or, if the land owner can’t buy it from the lender, this is where the city comes in. As guarantor on the mortgage, the city could take over the mortgage and absorb it into their housing assets for the remainder of the initial lease term.
16. How would the increase in property taxes be handled? Hopefully, there would be relief from the city under an affordability plan so that the property tax remains at it’s pre-laneway suite level for the duration of the lease. If that’s not possible, then the leasee would be responsible for the balance of the increase, somewhere in the range of $1200-$1600 per year.
17. Wait, does this Laneway Leasing system even exist yet? No. This leasing system of developing a laneway suite does not exist yet, but don’t you think it could? I had to get this idea out into the universe first. Please get in touch below to tell me your thoughts.
18. I noticed you have Part 1 in the title of the blog, what is Part 2? The Part 2 refers to a future micro business network in laneway suites, that would further improve the overall affordability for the leasee while also enhancing the social infrastructure of the neighbourhood. More on that soon.
PS: This leasing arrangement won’t be for everyone, and it doesn’t have to be. If you are a land owner and can build a second house and your property to use or rent out for profit…go for it! This alternate vision is for a land owner who wants to but doesn’t currently have the means to build a laneway suite, for someone who want to share their land to contribute to a more equitable city, for current renters who want to access an alternate system of home ownership within their means.
Please get in touch below.